Looking to add a touch of elegance to your home décor on a budget? With this easy DIY ombre stain finish, you can achieve a beautiful, high-end look without having to spend a lot of money.
Ombre stained wood is a great way to add some interest and personality to your furniture makeover projects. It’s also a very easy finish to achieve, with no stripping required! In this blog post, we will show you how to create an ombre effect on your wood projects with just a few simple steps. Let’s get started!
This desk was in great shape, unlike most of the pieces I find or purchase for my furniture makeovers. It was in great shape because of who owned it, my neighbors, thanks, Burt and Judy! They were getting rid of the desk and asked if I wanted to have it and give it a great makeover and find it a new home.
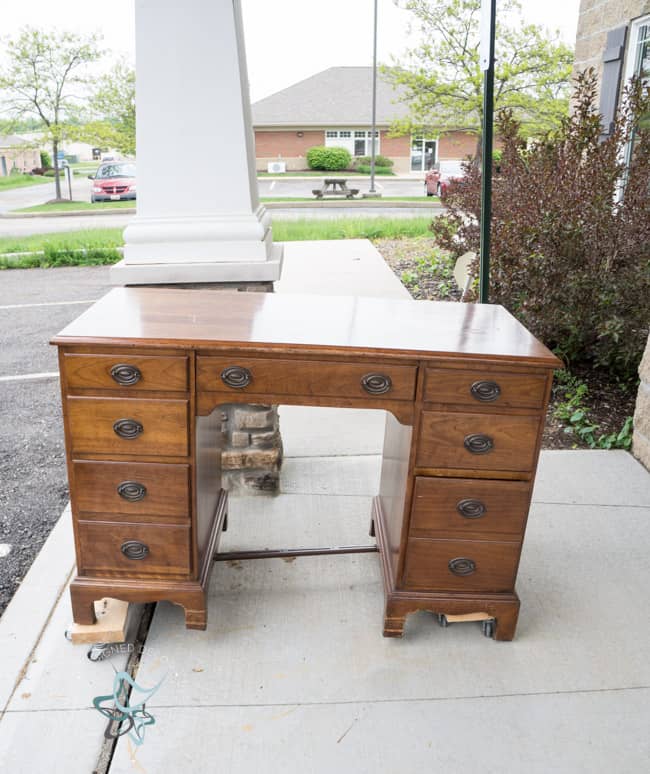
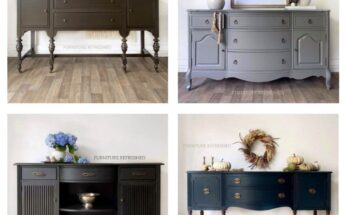
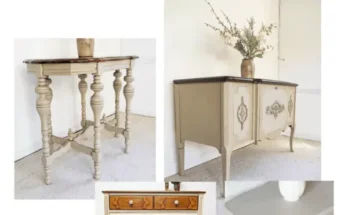
If you like all wood pieces, this was in perfect shape to keep as is. Although, I decided to take it up a level and give it an ombre stain finish on the drawers and a little bit of paint. I personally love the look of natural wood tones paired with paint. This gives the outdated furniture a modern look while keeping the warmth of the wood.
How to Ombre Wood
I started by lightly hand sanding the drawers and top, just enough to remove the varnish. Use light grit sandpaper, I recommend 300 or 350. Make sure to sand in the direction of the wood grain. Once this is done, clean the furniture thoroughly removing all sand dust, and grime from the furniture.
You can read all about how to stain without stripping from my last post if you want to know all the specific details.
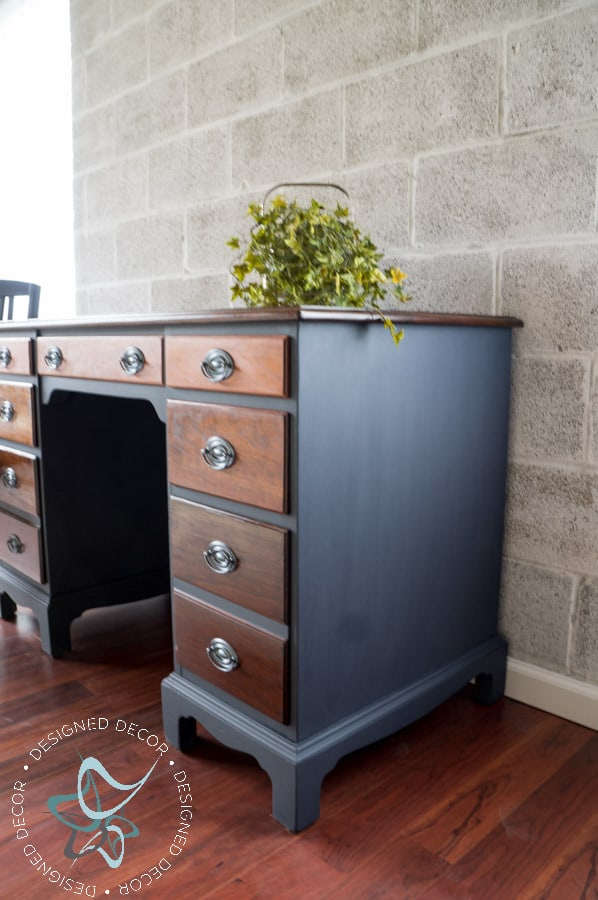
To create an Ombre effect, I applied Early American stain to the top drawers, Special Walnut stain to the second row, and Dark Walnut stain to the third and bottom drawers. If you would like to have a 4th stain in the ombre stain finish, I would use Java Gel Stain.
I cover all the details about using lint-free cloths, what is the best sealer for the stain to create a smooth finish, and how to apply the stain in this post, How to easily darken stain without stripping.
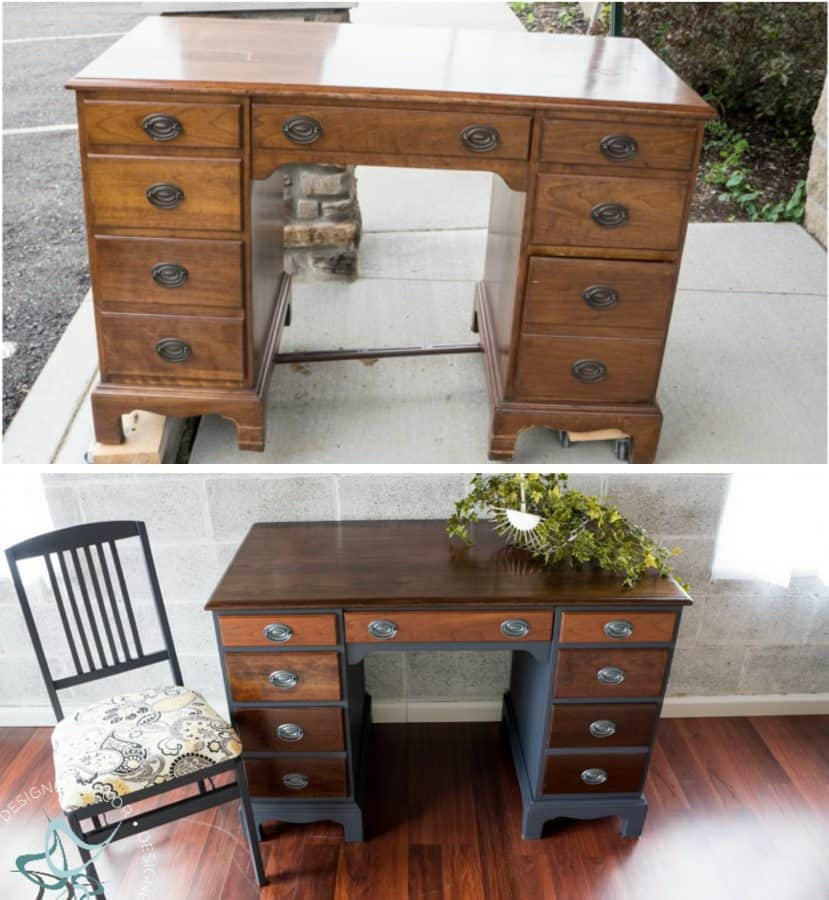
I painted the base of the desk with General Finishes Milk paint in Queenstown Gray, sealed with High-Performance flat, and finished with glaze effects in pitch black.
If you are needing more help in your furniture painting journey, I teach you how to glaze furniture or how to stain furniture in my online furniture painting video workshops.